Page 1 of 2
V raptor 1000 revival
Posted: |October 23rd, 2016|, 12:59 am
by gilbert666
Hi guys
As explained here:
http://www.raptorchapter.org.uk/viewtop ... =13&t=4724
I'm currently rebuilding my raptor to genuine.
Why? because Raptor are becoming very rare in France, and finding one that is not modified or in poor shape is quite hard.
As this was my dream bike since I saw her for the first time, before I get my license, I thought I needed to give here back her past glory!
So here we go!
After unmounting her totally, I repaint the frame, swing arm, etc, using paint from rs bike paint, very very close to the original (a littl bit darker, hardly noticeable):
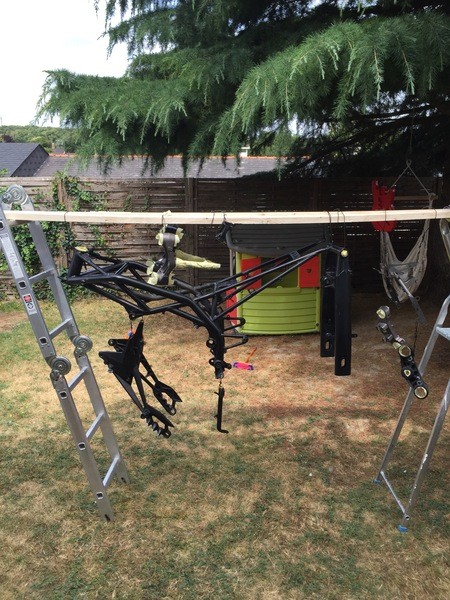
Then I start rebuilding the bike with a cleaned forks and wheels:
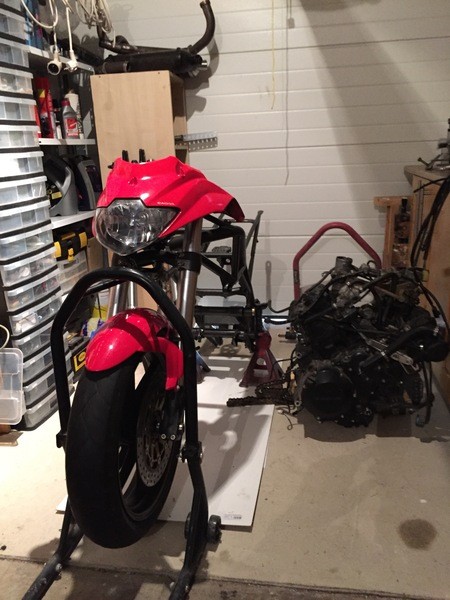
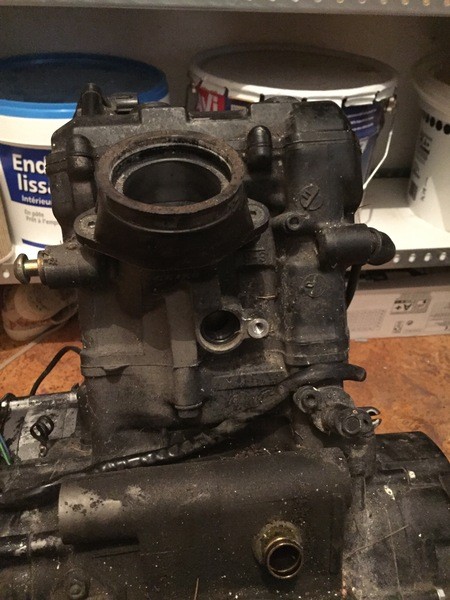
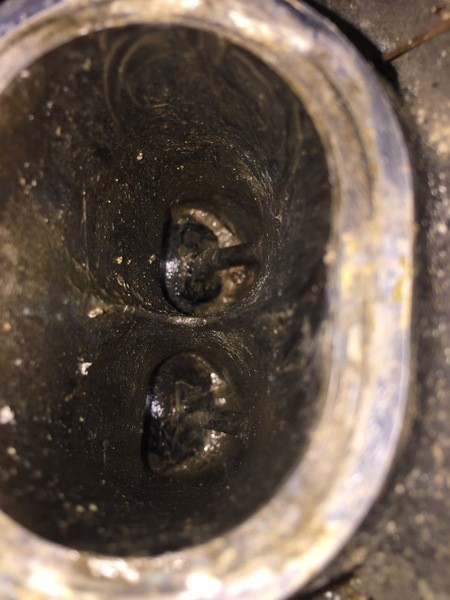
As you can see, the engine was very very dirty. This was the worst part of the building:
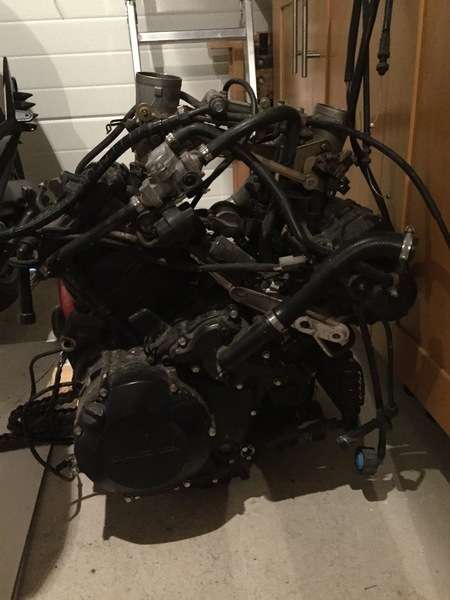
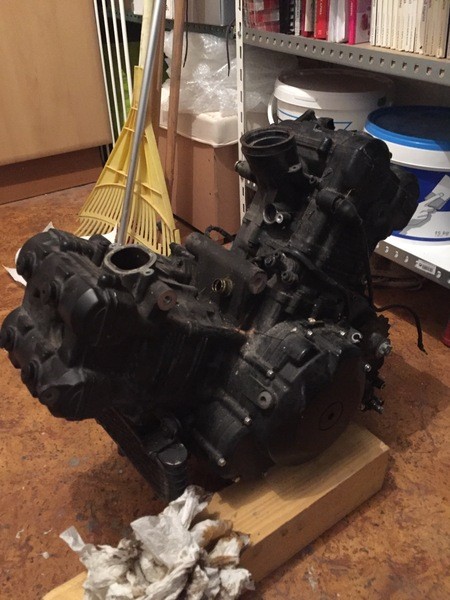
Removing of all the paint:
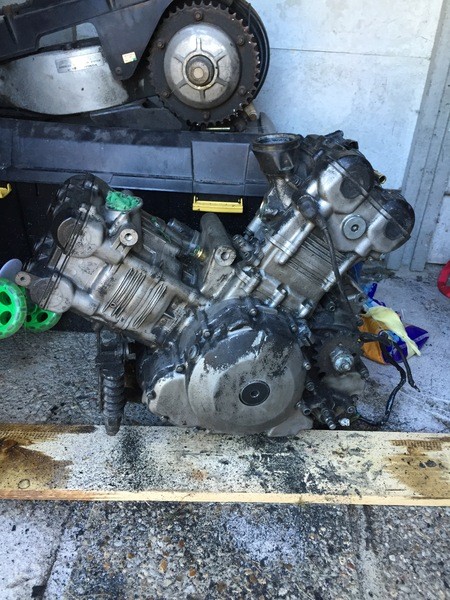
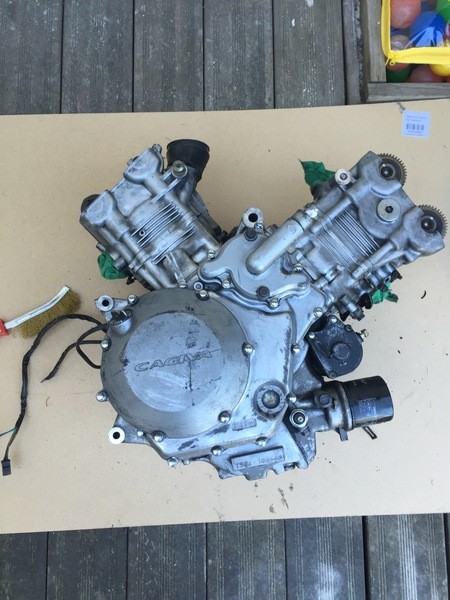
The side carter have to be painting (silver HT paint)
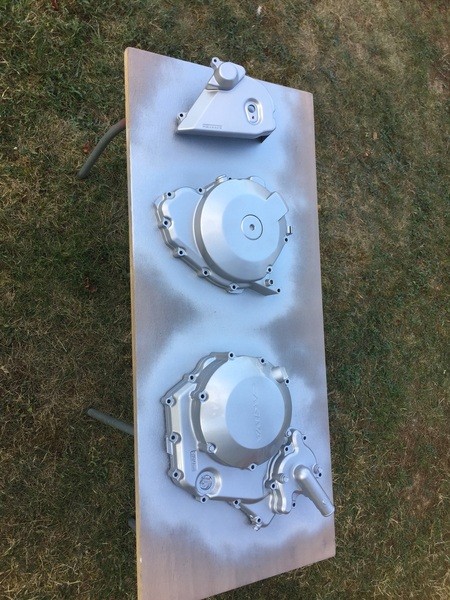
The engine itself was paint in RAL 7048 HT paint, from Sprido.fr (unpainted carter on this picture)
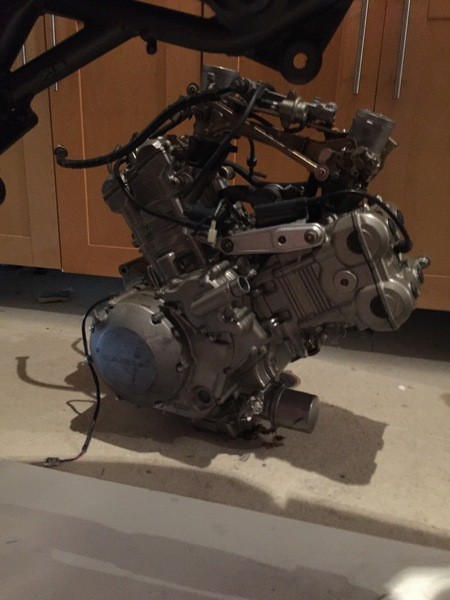
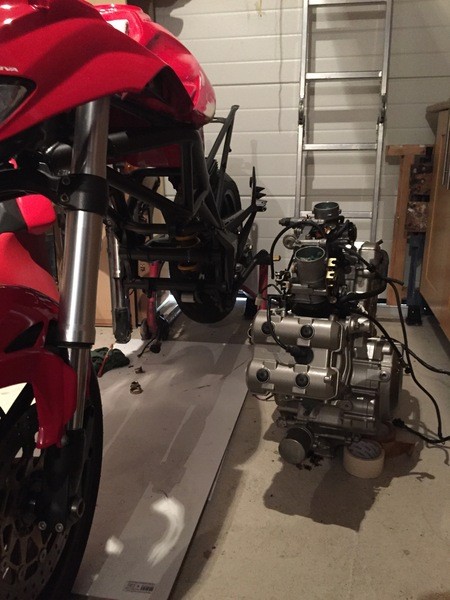
The color is a bit lighter than the genuine one, and a little bit shiny, where the original one is mat. Anyway, it is close enought for me to the genuine look, and the engine is hardly visible once it is mounted.
Had to buy some tools to mount the motor (how stupid I was to mount the forks before the engine.....)

Here I am now, starting to reconnect all the electrics.....
I will send some news when I move forward.
Re: V raptor 1000 revival
Posted: |October 23rd, 2016|, 7:17 pm
by Tikka
Nice job so far!
Re: V raptor 1000 revival
Posted: |October 24th, 2016|, 12:19 am
by Crap Tartan
looking good so far, if you had just removed the wheel then you could have sat the frame onto the engine and bolted it together then just hoist it up for wheels.
Re: V raptor 1000 revival
Posted: |October 24th, 2016|, 3:35 am
by andybaggies
Very nice... and of all the three looks I reckon the original is best.
Re: V raptor 1000 revival
Posted: |October 24th, 2016|, 6:20 pm
by gilbert666
Thanks guys!
And I agree, an italian bike must be red!
And red is faster, anyway...
I may need your help soon, as I will try to reconect all the electrics. Last time I did that, I had difficulties to identify what and where connecting all this mess!
Re: V raptor 1000 revival
Posted: |October 31st, 2016|, 7:49 pm
by gilbert666
My chain buffer is dead (too old, the plastic breacks) and the part is impossible to find.
So I drew it on a CAD software, and try to print it in 3D.
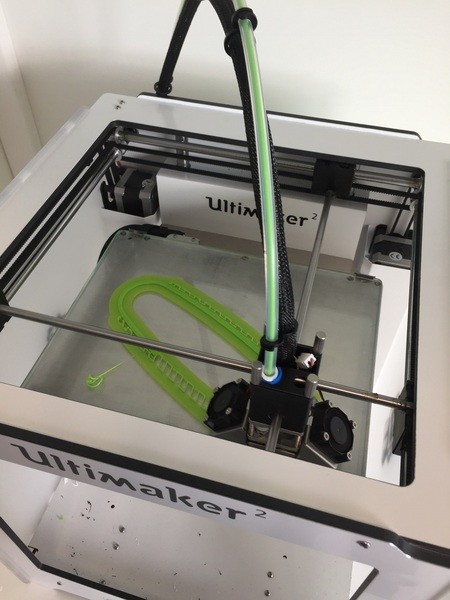
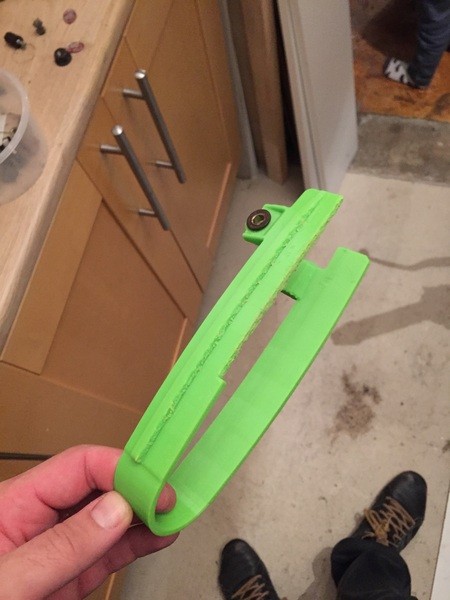
Nice looking part, isnt it? That what I thought to, until I tried to mount it.... and realise that the printer software apply a damned autoscale fonction that reduce the partrt to 80% of its normal size.....
The part was too small, and went directly to the garbage.....
Try agaiiinnnnn!!!
I work on the side pod: paint it in silver, add a matt varnish, with new stickers.
Start to look like a vraptor!
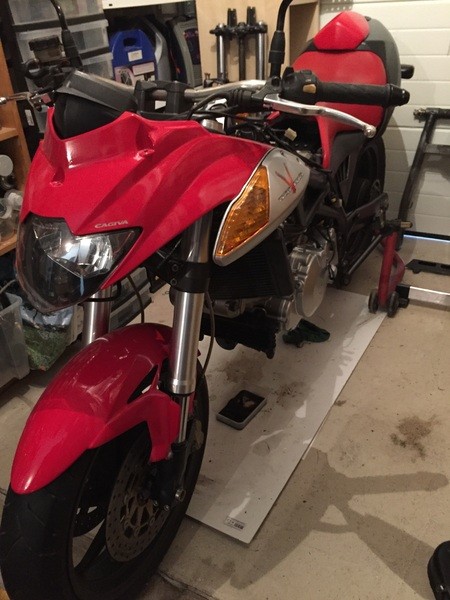
Then look to the fake plastic parts on the front fairing, can't let them in red, right?
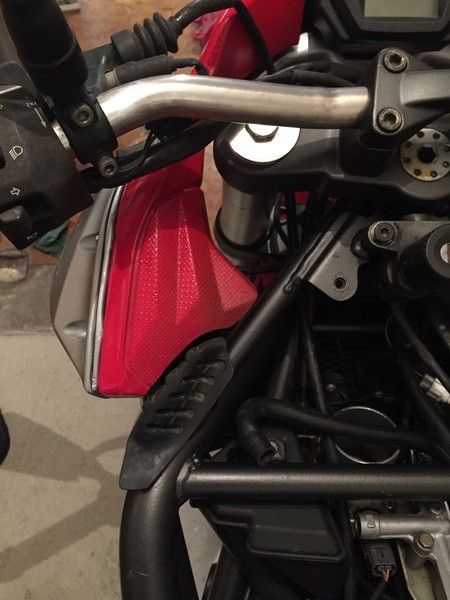
But what color should I use? no mention of it on the web......
I finalyy get lucky, thanks to the mess on my workshop! I saw the plastic horn stabnding near fram part painted in the original paint, and it is the same color!!
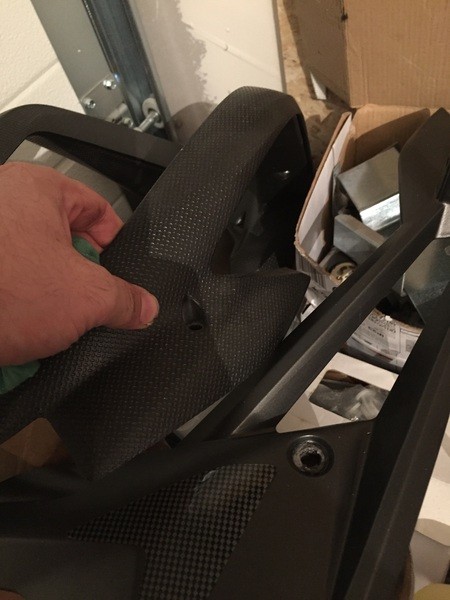
So be it!
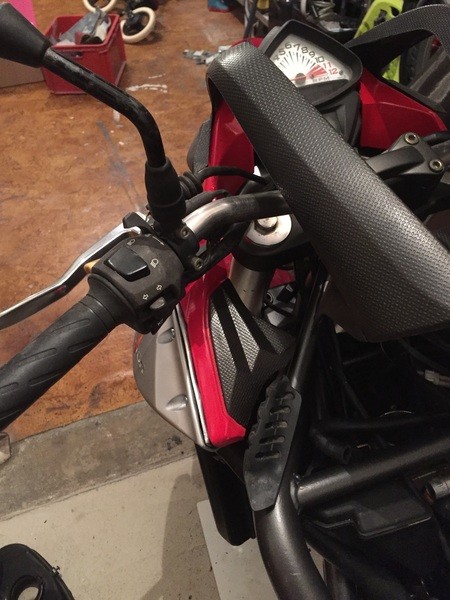
Niiiice! I'm quite happy with the result.
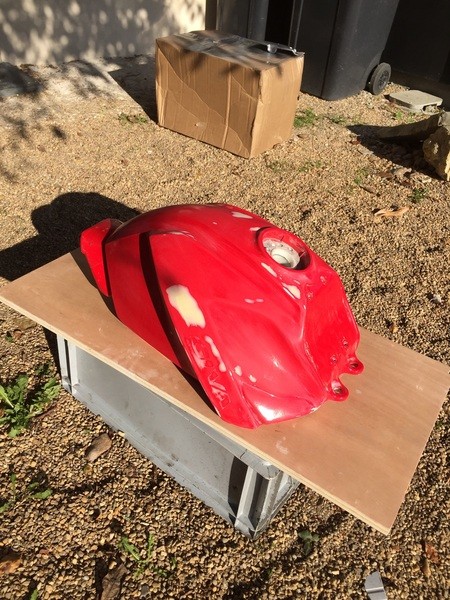
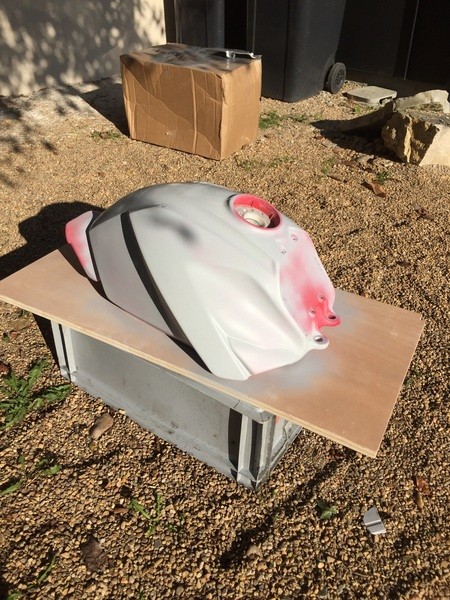
And finally, I started to paint the tanck. Updated pictures to come!
Sanding:
Primer:
Re: V raptor 1000 revival
Posted: |October 31st, 2016|, 8:16 pm
by andybaggies
I work on the side pod: paint it in silver, add a matt varnish, with new stickers.
Are you meaning the side pod stickers with the big V etc etc? where on earth did you manage to source them from? I've being looking for ages.
Andy B
Re: V raptor 1000 revival
Posted: |October 31st, 2016|, 8:51 pm
by gilbert666
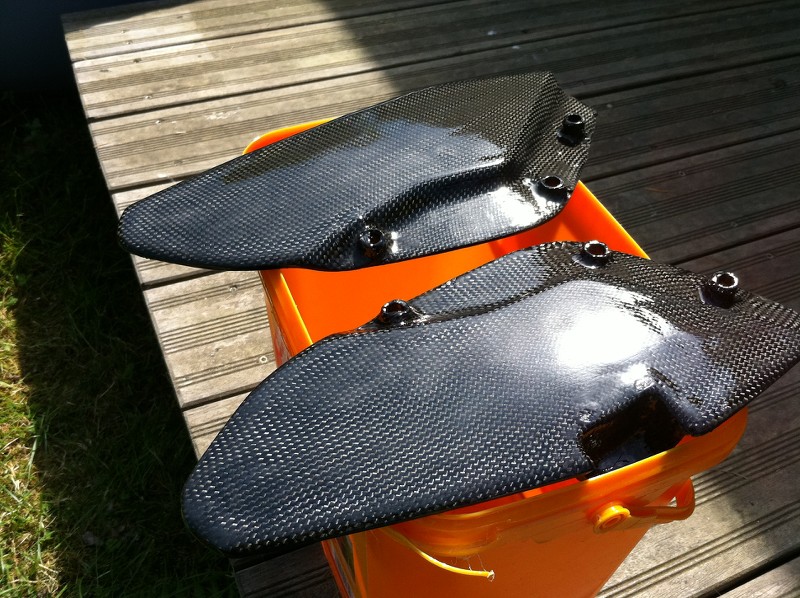
I had chance to find it in used state. the big part was nearly new, painted in the ugly pale yellow

:

and the little parts were a bit damage, I had to reconstruct them with carbon and epoxy:
I know you can find the big parts here, in carbon or white fiberglass:
http://www.scarlattimoto.co.uk
------------------------------------------------------
1 x Raptor Indicator Pods (Pair) (Cagiva Raptor) = £53.00
Carbon Fiber or Coloured GRP GRP WHITE
But don't know if the website still existe.
Re: V raptor 1000 revival
Posted: |November 1st, 2016|, 10:32 pm
by HiFi
Such a great job, I'm so in awe of people who can do this stuff, such a huge project!
Re: V raptor 1000 revival
Posted: |November 2nd, 2016|, 4:42 am
by shedmonkey
Awesome job. Can I post my bike to you and you can send it back looking beautiful

Re: V raptor 1000 revival
Posted: |November 2nd, 2016|, 4:54 am
by gilbert666
Re: V raptor 1000 revival
Posted: |November 2nd, 2016|, 4:55 am
by shedmonkey
Is that a YES
Re: V raptor 1000 revival
Posted: |November 3rd, 2016|, 10:27 pm
by Aussiejoe
I'm doing the same thing with my 650, but it's a long process when I spend 5 days a week away in a truck. I made a stand for my engine so that I can bolt the frame to the motor and then put the wheels on
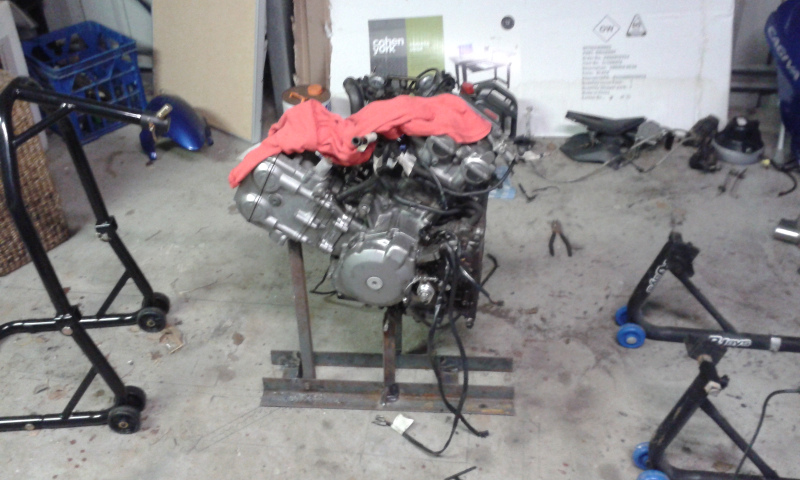
- bike engine.jpg (181.31 KiB) Viewed 7434 times
I soda blasted my engine and will be painting it black, with powder coated gold frame and rims.
Met a guy once that was restoring Indians, he said you should pull the bike apart, put it back together and then restore it, that way you know how everything fits together and you don't damage the new paint work.
Re: V raptor 1000 revival
Posted: |November 3rd, 2016|, 11:04 pm
by gilbert666
The frame is a good idea!! I should have though of that before....
I would love to see pictures of your rebuilt! this is always inspiring, and make me want to rebuilt more!
Re: V raptor 1000 revival
Posted: |November 28th, 2016|, 1:52 am
by gilbert666
Hi guys! winter is coming, and it's slowing me a litlle bit!
tank is now painted, waiting for varnish covering.
Freshly painted, I love the glaze finish (it is matt when it dry):
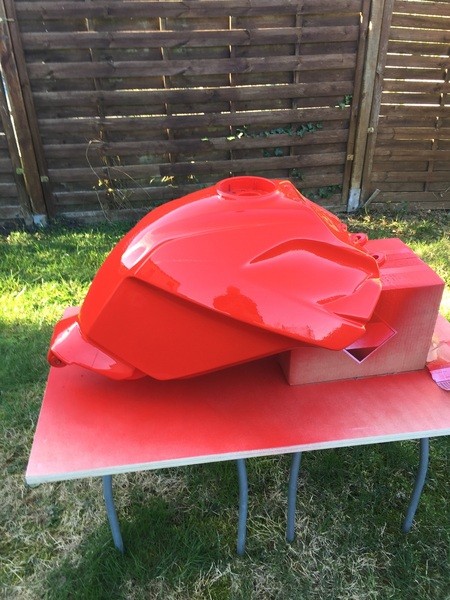
Fucking fly on my beautiful paint !!


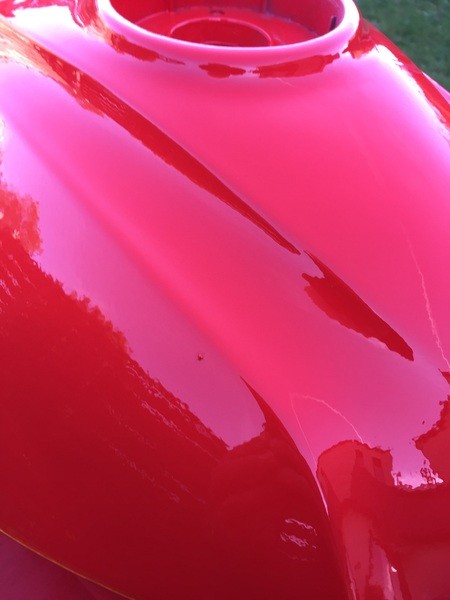
Quite happy with the aspect, too bad it goes matt as drying.
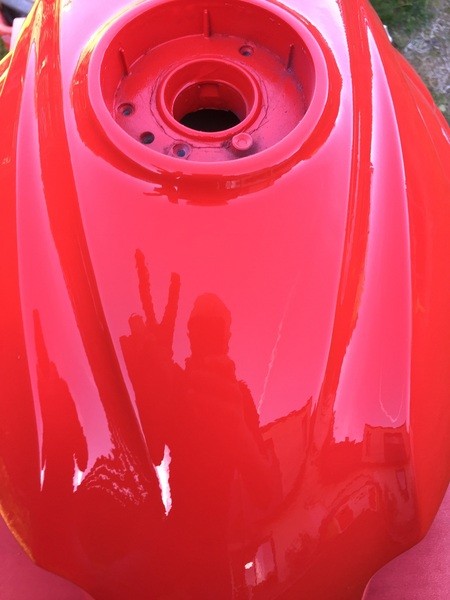
Once dry, stickers on.
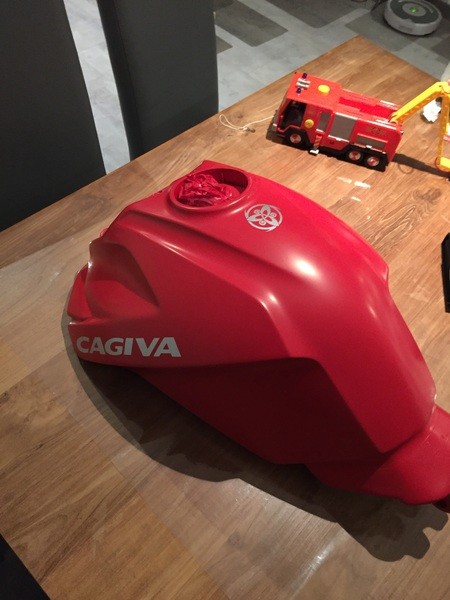
Now I have to wait for more than 15°C outside to put the varnish on.....


