As explained here:
http://www.raptorchapter.org.uk/viewtop ... =13&t=4724
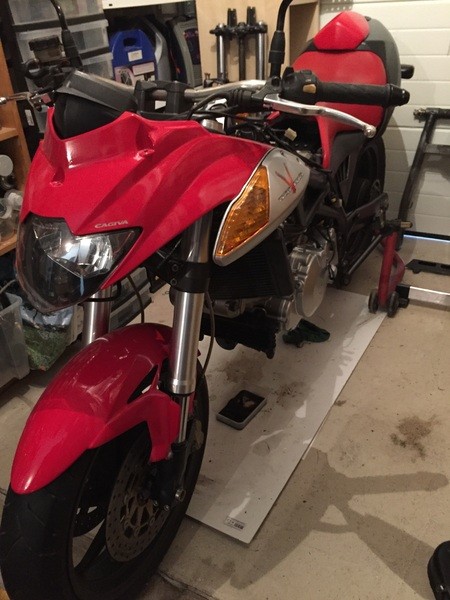
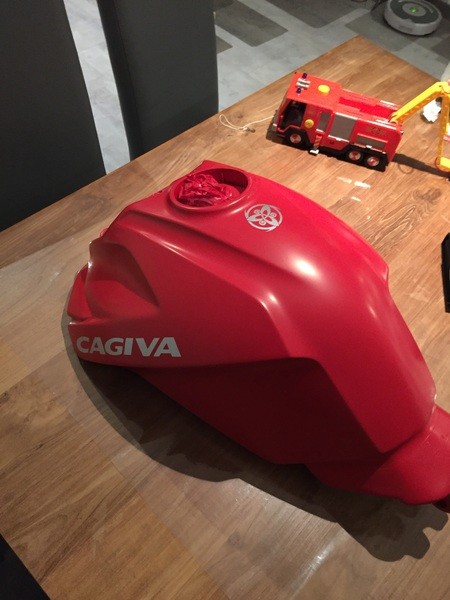
I'm currently rebuilding my raptor to genuine.
Why? because Raptor are becoming very rare in France, and finding one that is not modified or in poor shape is quite hard.
As this was my dream bike since I saw her for the first time, before I get my license, I thought I needed to give here back her past glory!
So here we go!
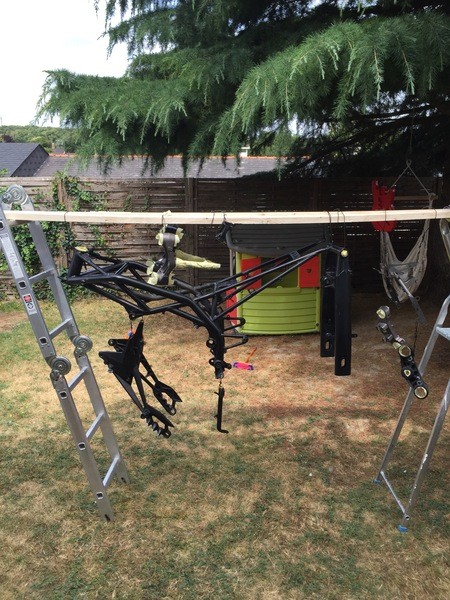
After unmounting her totally, I repaint the frame, swing arm, etc, using paint from rs bike paint, very very close to the original (a littl bit darker, hardly noticeable):
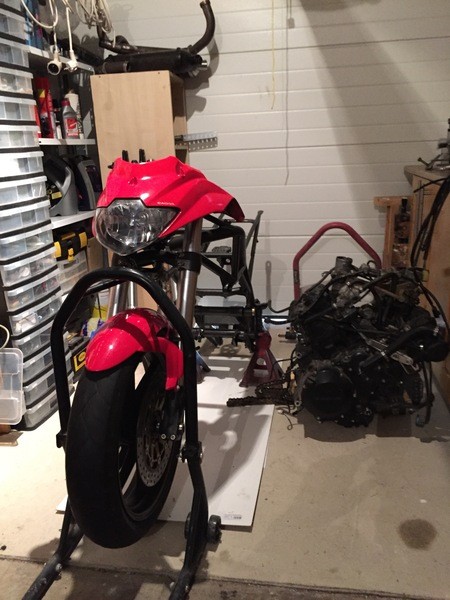
Then I start rebuilding the bike with a cleaned forks and wheels:
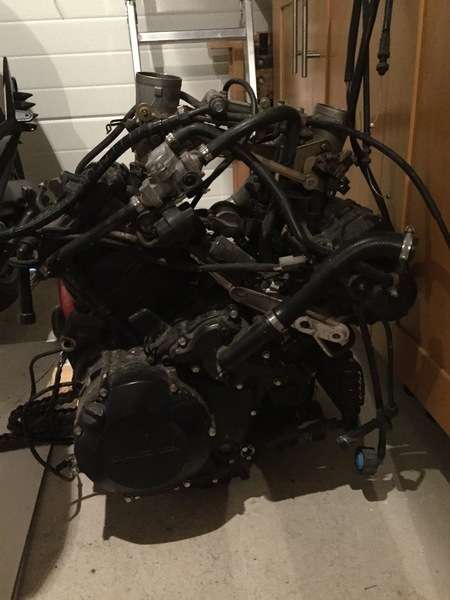
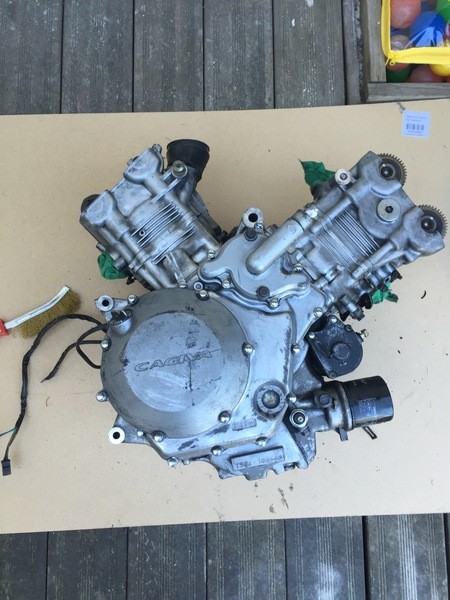
As you can see, the engine was very very dirty. This was the worst part of the building:
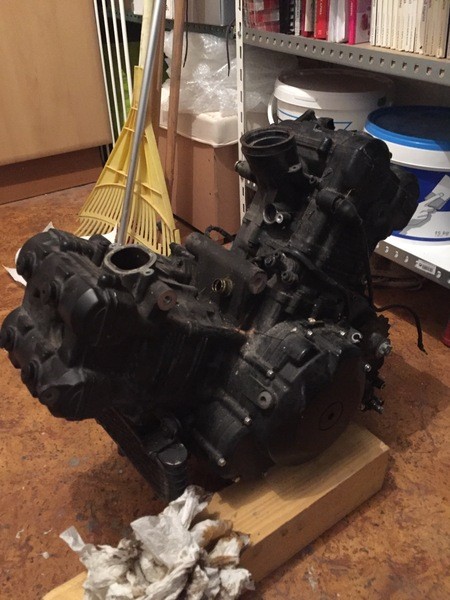
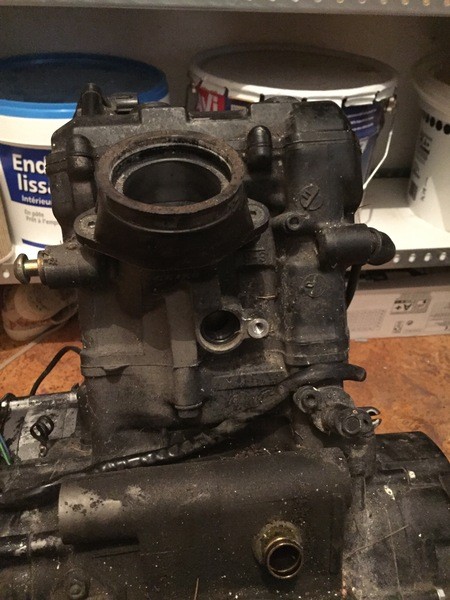
Removing of all the paint:
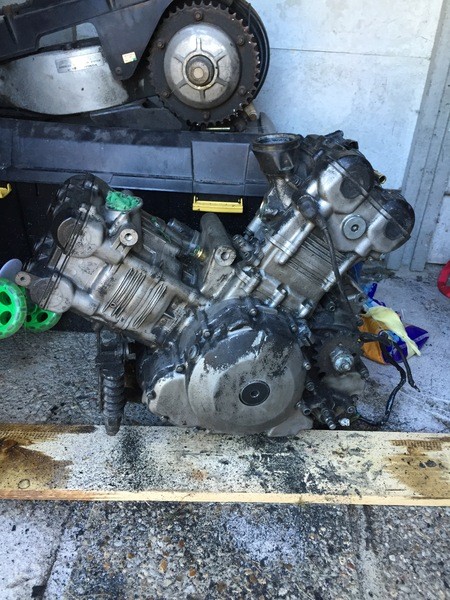
The side carter have to be painting (silver HT paint)
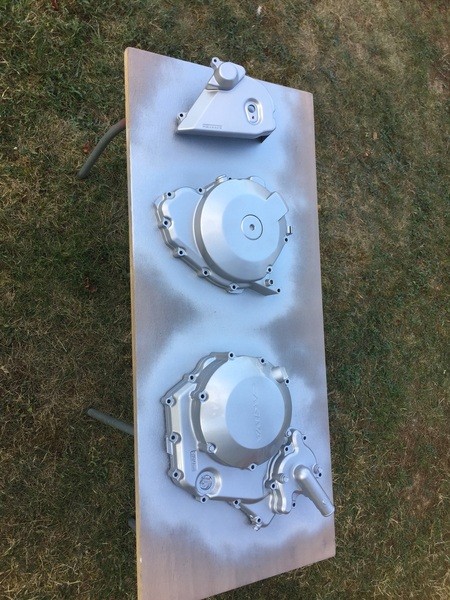
The engine itself was paint in RAL 7048 HT paint, from Sprido.fr (unpainted carter on this picture)
The color is a bit lighter than the genuine one, and a little bit shiny, where the original one is mat. Anyway, it is close enought for me to the genuine look, and the engine is hardly visible once it is mounted.
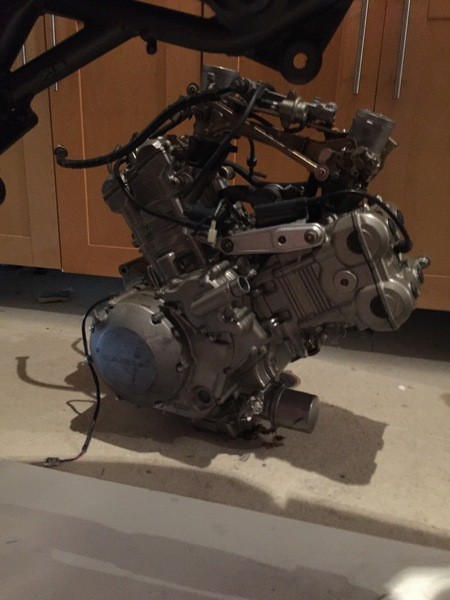
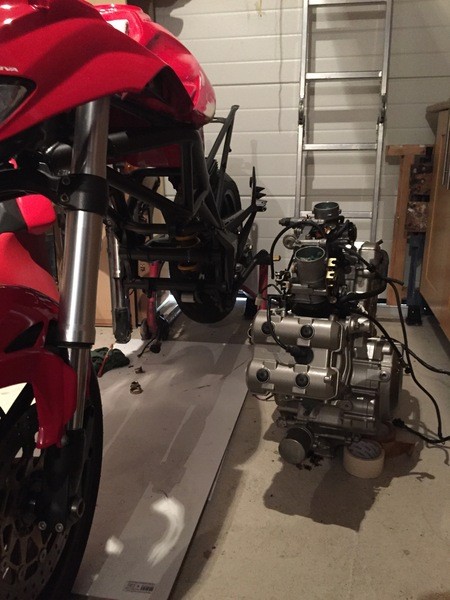
Had to buy some tools to mount the motor (how stupid I was to mount the forks before the engine.....)

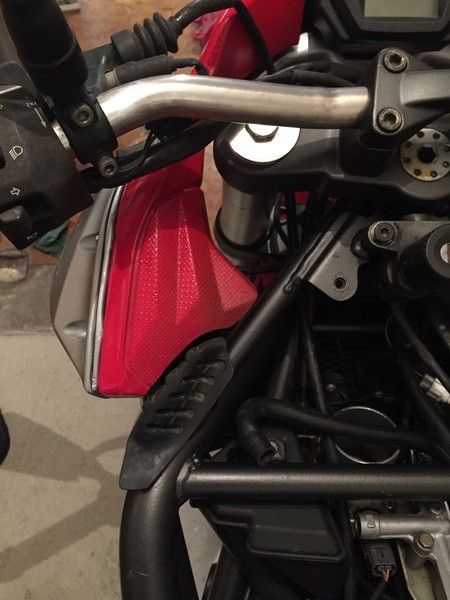
Here I am now, starting to reconnect all the electrics.....
I will send some news when I move forward.